Saturday 12 January 2013

Simple Homemade Reed Diffusers

I love using reed diffusers to make my room smell like you just stepped into a really swanky hotel. However they can be really expensive and I'm not too keen on buying the cheap ones which either smell really weird, or have questionable chemical content in it. I started making my own a few weeks back and was super pleased with the result! I've been mixing and matching different essential oils to create my own scent and they barely cost anything to make!


The ingredients I use to make my diffusers are super easy to come by, and most if not all you might already have at home.

Most directions you find on the internet use either Mineral Oil, Sweet Almond Oil or Safflower Oil as the carrier oil. The reason I put off making these for so long is because I had absolutely no idea where to find any of these oils where I live. Then I discovered that Johnson's baby oil is actually pure mineral oil (yay!); it's super easy to come by and inexpensive as well. So for me, I use Johnson's baby oil as my base which works brilliantly but you can experiment with other different oils.

Simple Homemade Reed Diffuser

What you will need


  • Carrier Oil as a base (I used Johnson's Baby Oil)
  • Essential Oils (I used Crabtree and Evelyn's Nadira Environmental Oil for this one)
  • Vodka (the cheapest ones)
  • Reed Sticks or if you don't have them, you can use Bamboo Skewer Sticks
  • Glass or Ceramic bottle with a small opening
  • Craft Knife (if you need to cut off the ends of your skewer sticks)


Directions


Mix the Carrier Oil and Essential Oil(s) together, I used a 70% (Carrier Oil) 30% (Essential Oil) ratio. But you can experiment with the ratio's depending on how strong/light you want it.


Add a splash of vodka to the mix. The vodka acts as a flow agent helping the oils to flow up the reed and disperse out easier. 


If you have reed sticks just pop them in and you are good to go! If you are using Skewer sticks, cut off the pointy bit with your craft knife before popping it in your bottle.


And you are done!


This literally took me 10minutes to do and apart from the purchase of the essential oils is one of the most  budget friendly crafts, considering a good reed diffuser can cost up to RM100 here (about £20)


Have fun! You can use old fragrance bottles as well which is what I did with the one above, and even add dried flower stalks to beautify it as they diffuse the scent as well. I made a whole bunch in different bottle shapes and now have one in almost every room! 

My favourite essential oils are: Crabtree and Evelyn Nadira's Enviromental Oil, Jasmine, Lemongrass and Lavender (any brand)

Tuesday 18 December 2012

Chocolate Truffles


Every year I bake something for Christmas to give out as gifts to friends. However this year, my oven broke :( so I had to come up with something that didn't involve baking. I decided to try out truffles, I'd been meaning to try making it for the longest time but kept procrastinating becasue most of the recipes I found online were fairly complex. I stumbled across this amazingly super simple recipe on naomi-sugarspice, you can check it out here and decided to try it out solely because it only requires 2 ingredients: chocolate and heavy cream.

Instead of using all semi sweet chocolate as the original recipe called, I substituted half the chocolate with good dark chocolate to add that bitterness and wholeness to the truffle. It came out perfectly! And only took less than 20 minutes to make (not including chilling time) and tasted amazing! Rich and chocolatey, it had the same texture as the chocolate filling (the best bit!) inside a Ferrero Rocher chocolate.


The recipe is super easy to remember as well because everything is a 1/2 cup!

Recipe (makes 20 truffles)

1/2 cup semi sweet chocolate chips
1/2 cup dark chocolate (chopped)
1/2 cup heavy whipping cream

Optional for rolling

Cocoa powder
Almonds (Chopped)

Equipment
Heat proof bowl
Whisk
Parchment paper
Baking Tray
Two teaspoons
Cloth

Directions
To make the ganache, place your chocolate int he heat proof bowl and put it aside for later. Heat up the whipping cream over medium heat. Don't boil it just heat it till it's hot. As soon as tiny bubbles start to appear, take it off the heat and pour the hot mixture over the chocolate pieces. Gently whisk it till it's smooth. Don't over whisk the mixture or it will split.


Once it's mixed, cover with a plastic wrap and let chill in the fridge for about 3 hours till firm.

If you want to roll your truffles in cocoa powder or almonds. Place whole almonds in a zip lock bag and use a rolling pin to smash it up.


Get some little bowls and fill one with cocoa and the other almonds for you to roll your truffles in.

Remove your ganache from the fridge and using two teaspoons mold the chocolate into little balls. It won't come out perfectly the first time especially if you live in a humid country like I do, as the ganache tends to melt really quickly. But you can always pop them in the fridge to firm up then reshape them again.


Roll your truffle balls into cocoa or almonds and place them onto a baking tray lined with parchment paper. Pop them into the fridge to firm up and they are good to go!


I placed the ones that I'm going to give away into tiny little paper cups for easy packaging.


Monday 17 December 2012

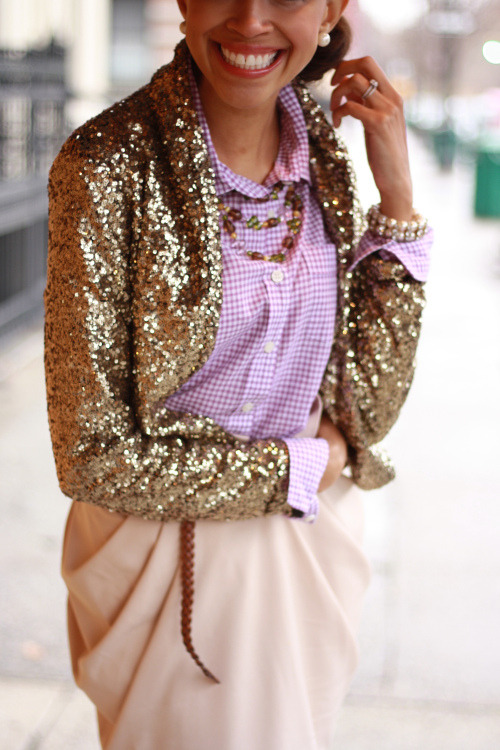
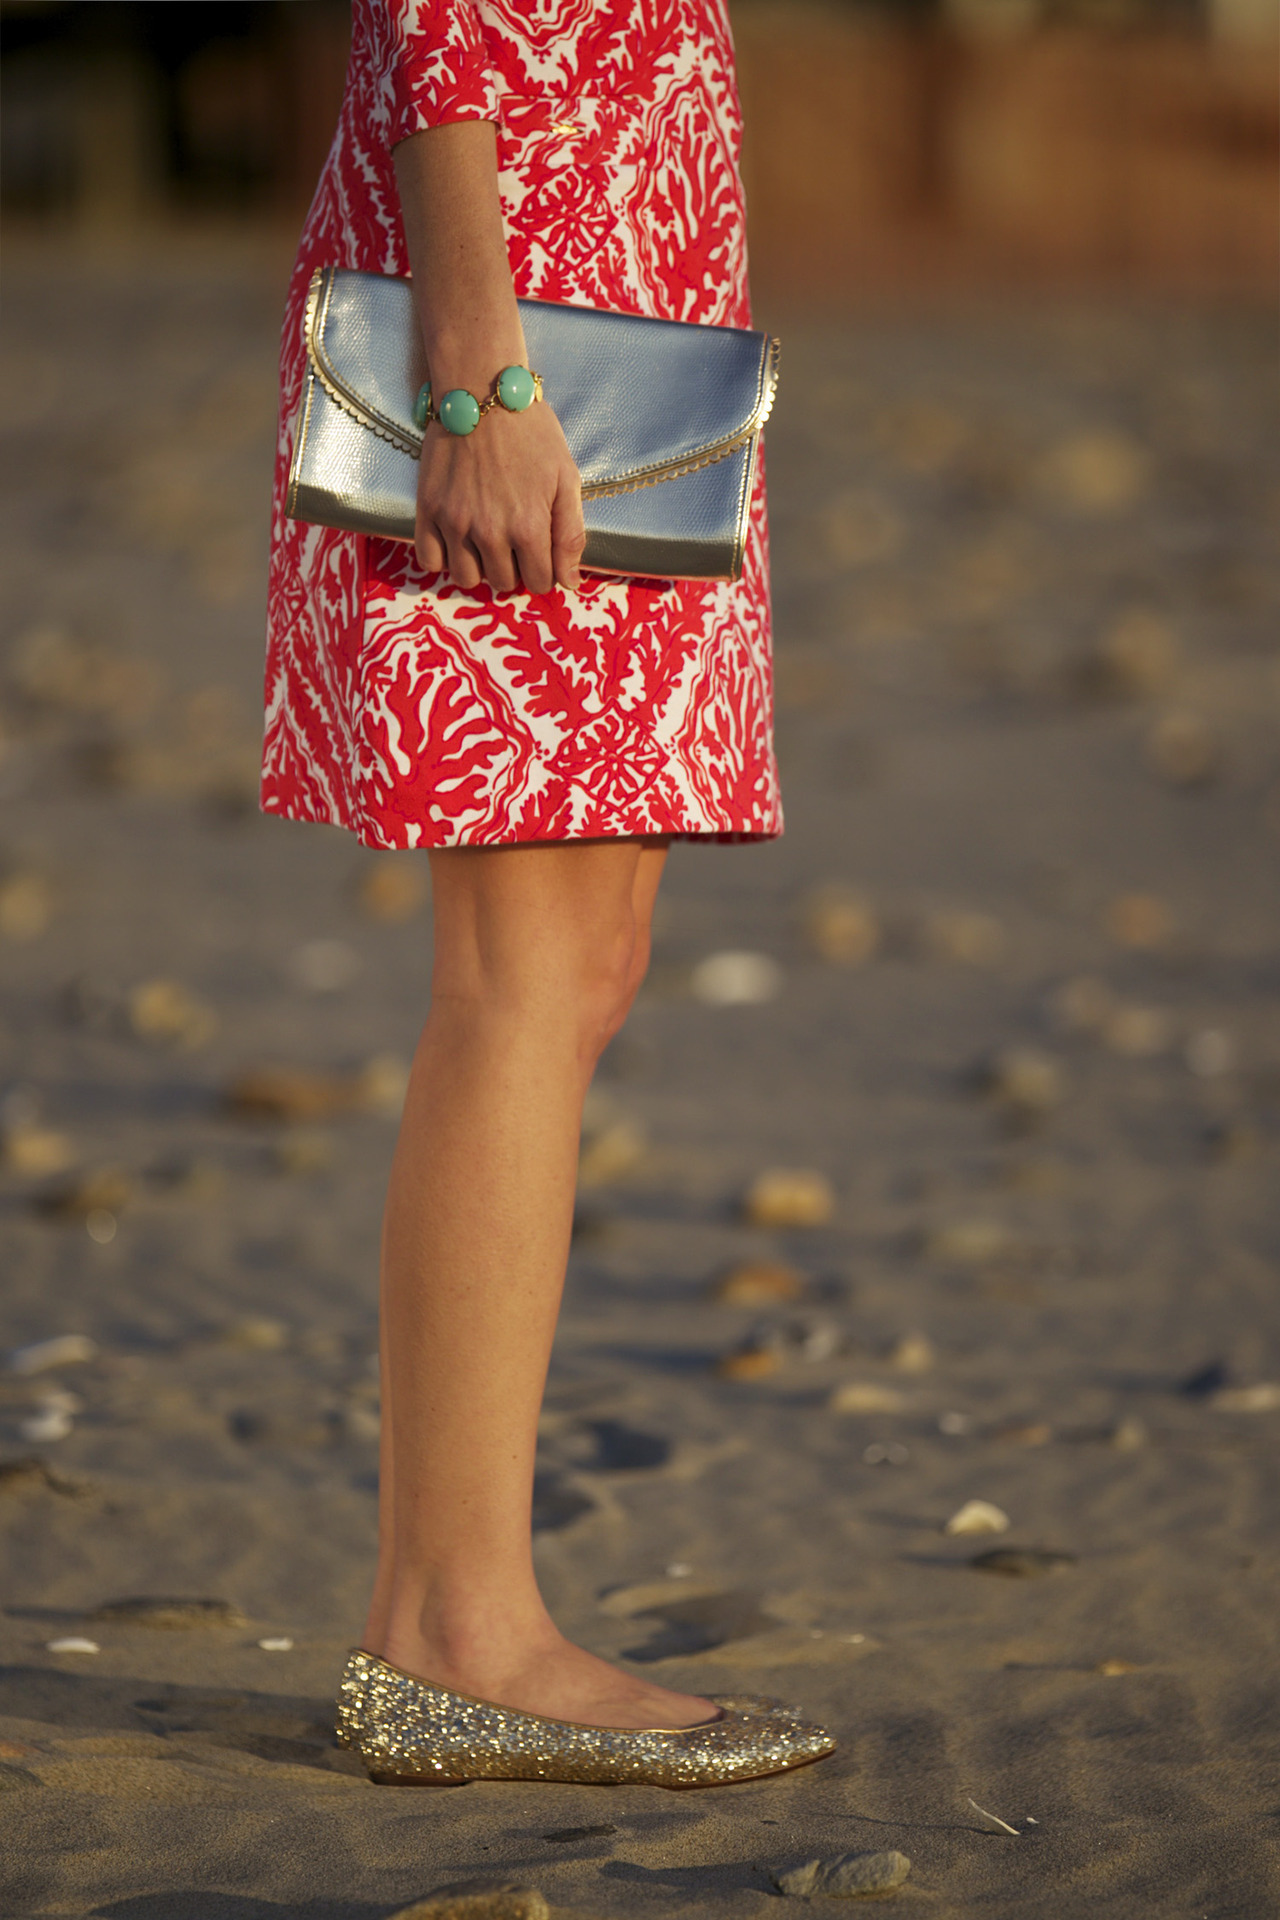
Casual glitter

Glitter and sequins don't always have to be overly glamorous. Here are some interesting ways to incorporate some subtle sparkle to your everyday wear for a fun and modern look.

Sequined skirt with a comfy sweater
Image: http://classy-inthecity.com/

Pair a sequined top with a pair of khaki pants for a casual day to night look 
Image: wendyslookbook


Glitter bustier paired with high waisted pants

Image from: fashforfashion.com
Embellished Skirt with a Jersey T-Shirt


Neutral colour palate with a splash of sparkle

Glitter and plaids for a quirky twist

Sparkly statement necklace with soft sheer top

Casual Fridays: Glitter Flats

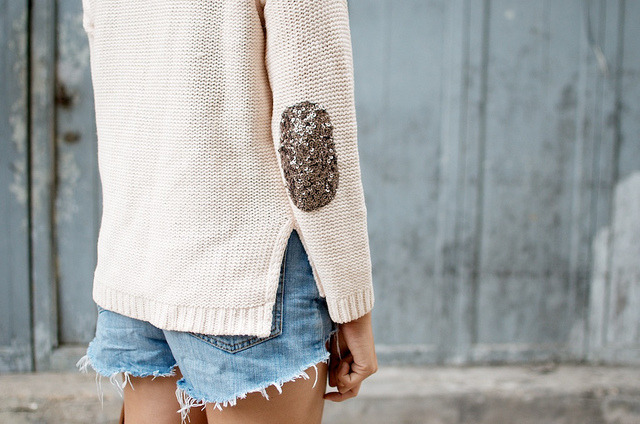
Embellish an old knit sweater with a sequined elbow patch

Sunday 16 December 2012

A Menagerie

I love animal shaped objects/prints. 

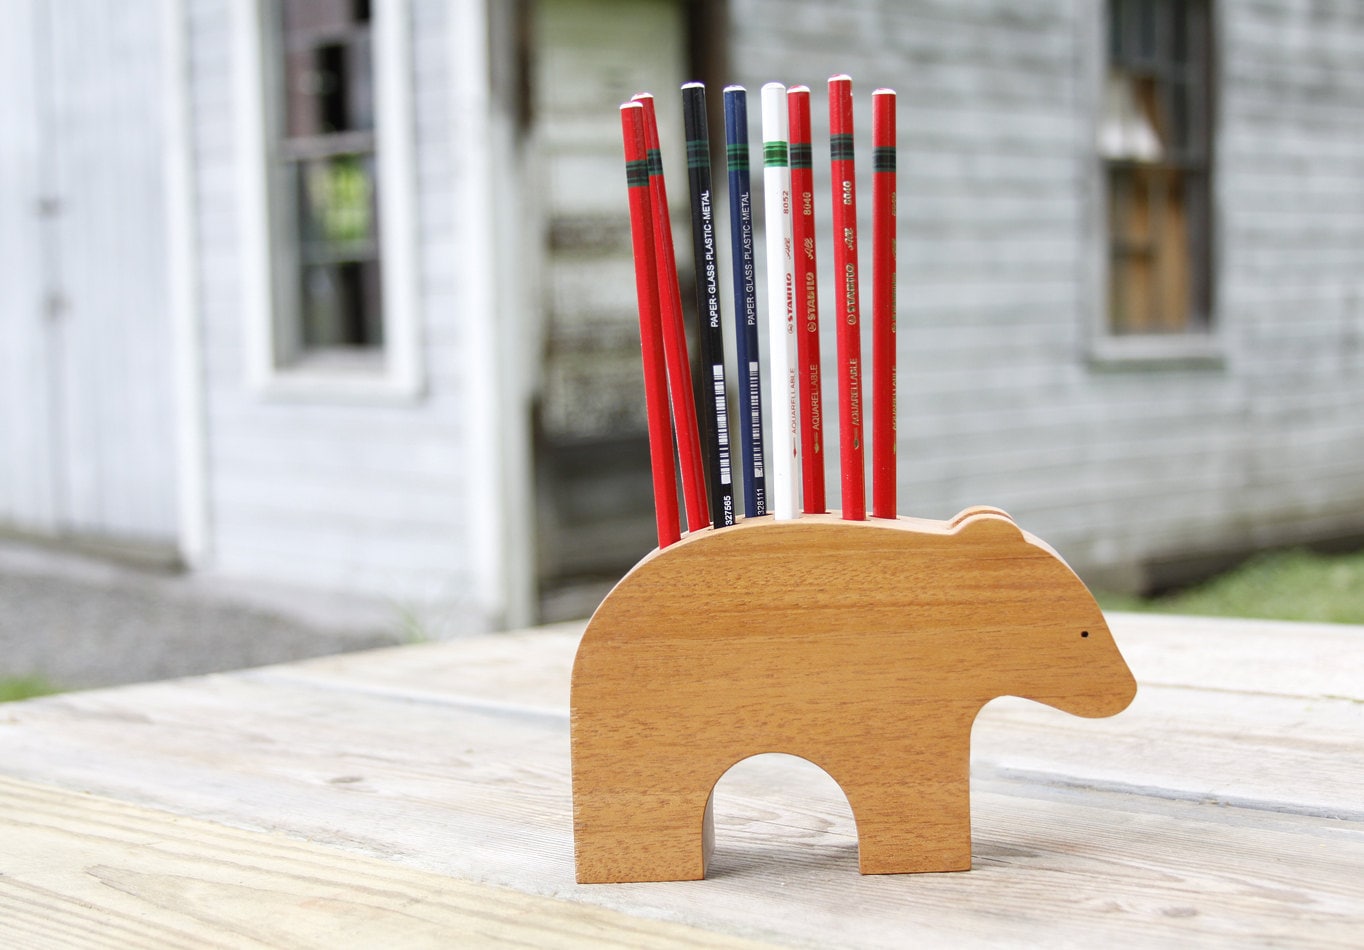
Blissful bear pencil holder

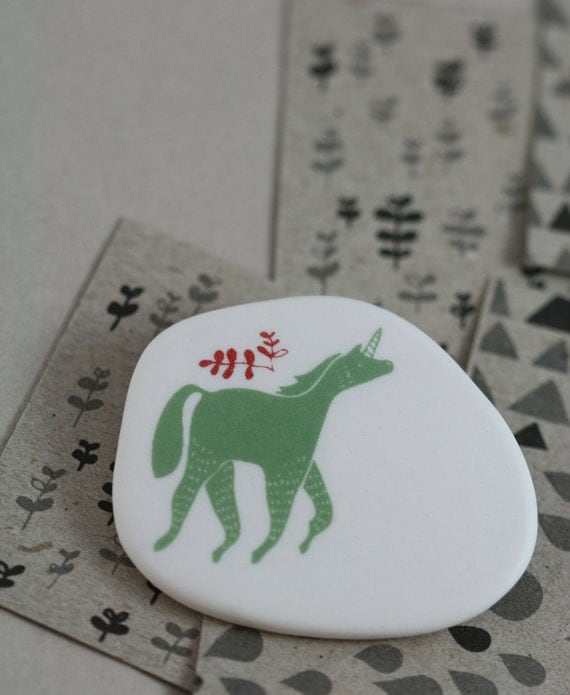
Unicorn Porcelain Brooch

Anthropologie squirrel tape dispenser


Porcelain bunny ring

Rhino trinket boxes by Karl Zahn


Saturday 15 December 2012

DIY: Glitter Heels

The festive season is in full swing, and the parties have been coming in thick and fast. I was looking for a fun pair of shoes but couldn't really find one that was quite right/budget friendly. I'm a sucker for glittery goodies during the festive season and I was especially inspired by Kate Spade's New York Licorice Too Pumps in Multi Glitter. Super perfect to wear out for dinner or cocktails or even pair it down with a pair of jeans and a fun top for that everyday whimsy. 
But at USD $350 it was a little too steep to splash on out a pair of shoes I'll only be wearing for Christmas. 

I had an old pair of really comfy pumps lying about and it's outer layer was peeling so I thought instead of chucking it out why not cover it in glitter! 

Supplies
Old pair of heels
Masking Tape

Acrylic Paint (any colour)
Multicoloured Glitter (I bought individual packets so I could mix my own)
Any white glue or Mod Podge (I used a mix of Elmer's and Carpenter Glue)
Sponge


1. Masking tape the sides and peel off the outer layer 


2. Prime the surface with acrylic paint.
I had completely forgotten that I had bought these sponge applicator paints from Ikea a while back.  


3. Mix up the white glue and glitter together!


3. Apply glue and glitter mix in even strokes with a sponge. I did mine in sections and applied 3 layers, waiting approx 10-15 minutes for each layer to dry.


3. Leave overnight to dry and peel of masking tape after. 


4. Fill in the side bits with acrylic paint. 


And you are done!


I really love them, the best part about it is it's so comfortable! Because it's an old pair of shoes upcycled I don't have to go through the whole process of breaking into it and suffering painful feet all night long.  

I feel a little bit like Dorothy from the Wizard of Oz when wearing them.

This was a super quick and fun DIY to do. I did it in one night, not counting drying time. The only problem is my room was covered in glitter for days! And I'm still discovering glitter in the oddest places!


FACT!

Have fun!

Wednesday 28 October 2009

Pink flowers

Beautiful new flowers from the flower market..loves.
the best things in life really are the simplest =)


Tuesday 27 October 2009

Cream of Celery Soup

The clocks have turned back, signifying the beginning of winter and the end of summer! I quite like winter! Because with winter comes soups, roasts, casseroles, anything slow-cooked to keep the chill at bay! I created this hearty soup because...
1. although I like winter, the fact that it gets dark so early depresses me slightly, and a bowl of hearty soup really cheers me up (that and a huge slice of cake!)
2. Celery was on reduce and it was super cheap!

It's perfect to curl up with in front of the TV during those cold dark winter months. I'm not a fan of celery but because it was so cheap I couldn't resist! Nevertheless this soup is really delicious! Boil the celery first to reduce the pungent taste


Cream of Celery Soup
Serves 2

  • 150ml of stock (I used homemade pork stock)
  • 3 stalks of celery, chopped
  • 3 carrots, chopped
  • quarter of an onion, chopped
  • 2 cloves of garlic, minced
  • 1 tablespoon all purpose flour
  • 160ml hot milk
  • pinch of salt
  • pinch of pepper
  • 1 tablespoon butter
  • Croutons (optional)
  • Parsley (optional)

1. Boil the celery for 3 minutes. Drain.
2. Pour the stock into a large pot, and bring to a boil. Add the celery, carrots, garlic and onion to the pot.
3. Whisk together flour and milk, slowly pour milk mixture into the pot. Add the butter to the soup. Season with salt and pepper.
4. Simmer for 10minutes. Transfer to a blender and blend to a puree, then pour into pot to reheat.
5. Top with croutons and parsley and serve with crusty bread!


Enjoy!